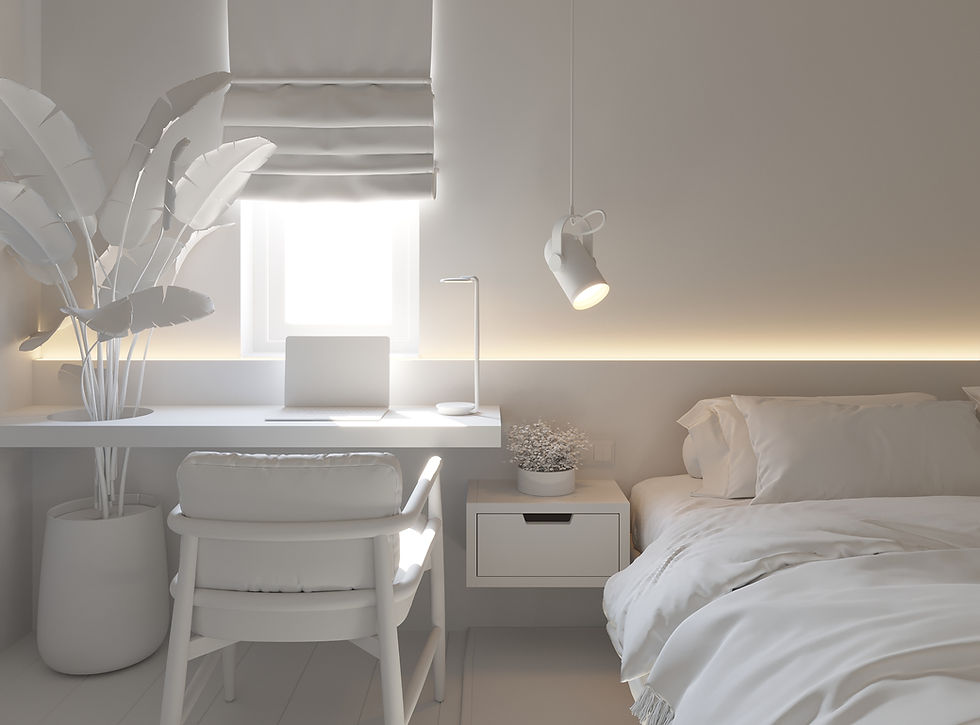
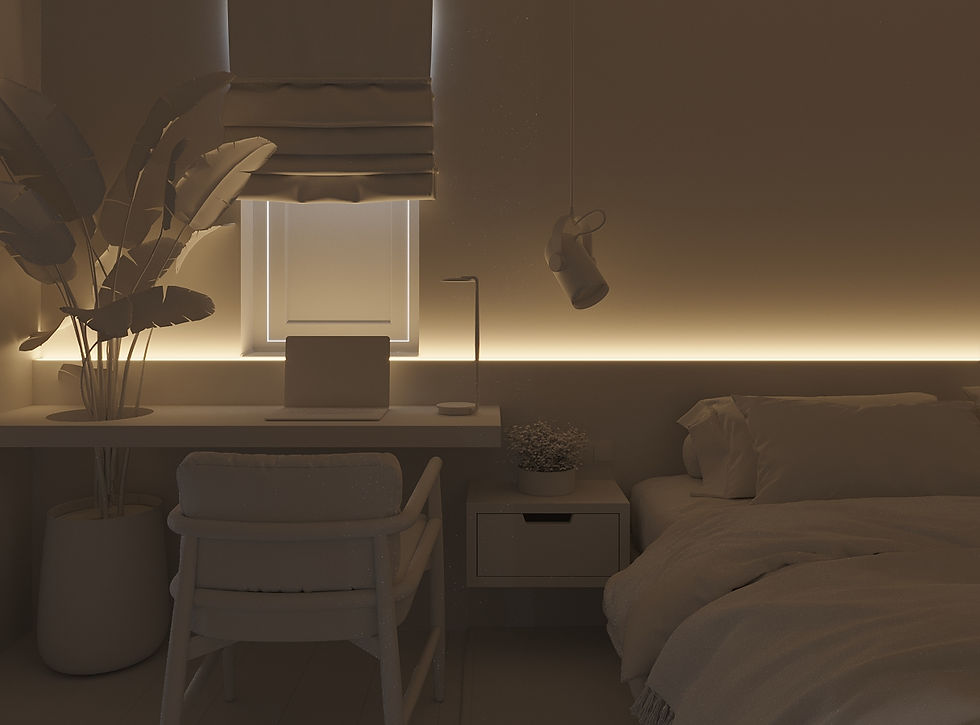
Clay render using the Corona Renderer in 3ds Max
- Margarita Nikita
- Feb 21, 2022
- 2 min read
Updated: Nov 20, 2024
In this post we will see how we can produce a clay render using the CoronaRenderer in 3ds Max.
Tired of reading? Check the YouTube video instead!
A clay render is basically a monochromatic rendering, usually a white or light gray one.

Why do we need to make a clay render? I always use them in my workflow, it’s the first render I present to my clients, in order for them to confirm the camera angle and that I have understood clearly their instructions.
If I press the Render button, below is the render I get for a 10-minute rendering time.

To produce a clay render, simply go to the Render Setup window and to the Scene tab and enable the Mtl. οverride checkbox.

If we press Render, nothing has changed. That’s because we have asked to override the scene with one single material, but we haven’t set this material.
Open the Material Editor and create a CoronaPhysicalMtl and drag it in the None field.

Choose Instance, so that any changes we will be doing in the Material Editor will automatically apply in the Render Setup as well.
So, this material is now transferred in the Render Setup window and we have asked to override all the materials of the scene, with this single material.

If we render, the full scene has the default CoronaPhysicalMtl applied. What we should notice is that this material is also applied on the glass surfaces and it doesn’t allow the sunlight to enter inside the room.

The next step is to go back to the Render Setup window and click on the Preserve button. Enable the Preserve glass materials option.


If we now render, all the scene has the default CoronaPhysicalMtl applied, but the glass surfaces preserve their original glass material, and so now we have natural lighting in our scene.

If we go back to the Preserve dialog box, we can also enable the light material. This way if we have applied a CoronaLightMtl it preserves its attributes.


Finally, apart from the list we see here, we can also choose to preserve the materials of selected objects. Let’s say for instance that we want to render the full scene white and have textures on the plant. I will select the plant, go to the Render Setup window and click on the + button. The selected objects are added in the list with all the Excluded objects and if we render, the full scene will be white apart from the plant.


If we go to the CoronaPhysicalMtl settings, and click on the diffuse color, we can choose the color we want the whole scene to have. So, the lighter we go, the brighter the scene, while the darker we go, the darker the scene.
That’s all on how to make a clay render using the Corona Renderer in 3ds Max.
Thanks for reading, I will see you all in my next post!

Comments